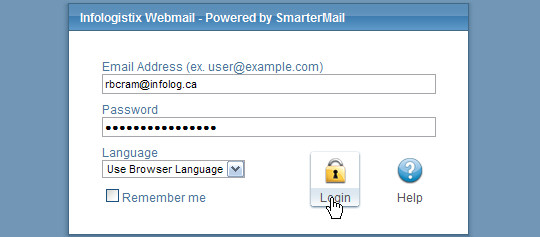
The first step is to login to the webmail interface at mail.yourdomain.ca (see the screen shot below each step as an example)

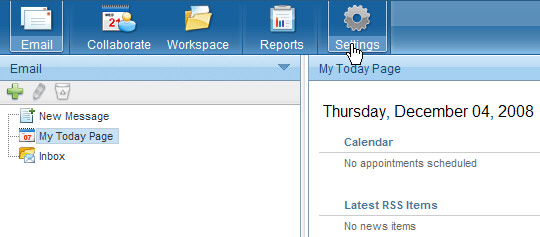
Then click on “Settings” on the toolbar at the top

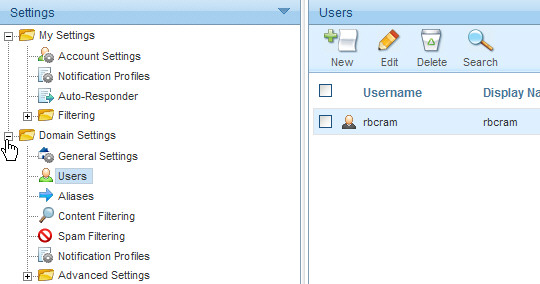
On the left menu expand the “Domain Settings” branch (double click on “Domain Settings”, or single click the + to the left of “Domain Settings”)
If you don’t see the Domain Settings branch it means your account is not a domain administrator account. Contact support if you are the domain admin, but you don’t know your admin account details.
With the menu expanded click “Users”

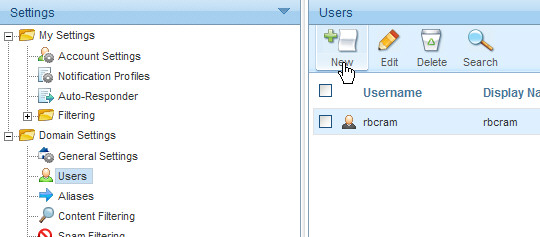
Then click “New” in the pane to the right

Fill in the details for your new email address including:
- User name (the part of the address before the @ symbol)
- Password (use a combination of letters and numbers)
- Display name (optional – it’s the friendly name that indicates who an email is from in your recipients email program)
- Finally set the time zone and click “Save”